Stop me if this sounds familiar: your son or daughter loves cheese—but also can be bafflingly finicky about how he/she eats it. Maybe he/she loves string cheese but hates stringy cheese; maybe he/she loves tacos but hates quesadillas, or vice versa. There’s probably no logic—or any consistency—to this antipathy, which you no doubt learned from serving your child something he/she should so obviously like, only to watch your kiddo reject a toddler cheeseburger for utterly nonsensical reasons.
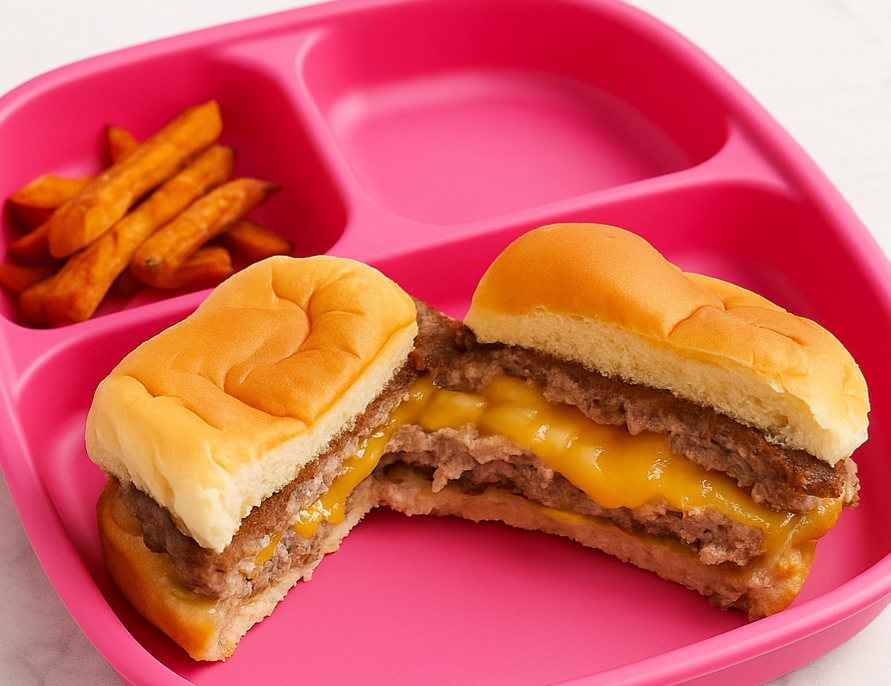
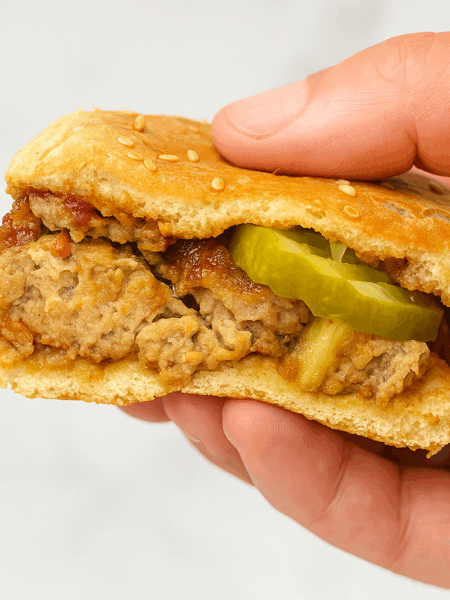
But you will want to serve your child a toddler cheeseburger at some point, and there is a way to do it that can lead to elation rather than rejection: the Juicy Lucy. Essentially a stuffed burger, with the cheese inside the patty rather than on top, think of it as the ultimate form of “hiding” foods: with the cheese melting inside the meat, your child gets all the visceral pleasure of melty cheese with none of the randomly squeamish visuals. Restaurant versions of the dish often yield a molten center, the cheese often squirting—if not exploding—out upon biting into the center; for obvious reasons, we have tempered that, creating more like a strata of not-too-hot cheese lava in between the meat. It looks cool; it takes only a few minutes more of prep to pull off than our standard burger; and you get to eat your cheeseburger, too. Only wins here.
(Check out our other great toddler ground beef recipes!)

How to Make A Toddler Cheeseburger (Juicy Lucy)
Description
Inspired by the stuffed cheeseburger known as The Juicy Lucy, we've created this kid-friendly burger that just happens to have a bursting center of melty cheese. All it takes to put this masterpiece together is a quick change to how you form your patties--two minutes of extra work, max.
Ingredients
If Using Chicken or Turkey
Instructions
Prep
-
If using ground beef, season the ground with your preferred seasonings + salt and pepper. If using turkey or chicken, add a dollop of mayo, a splash of soy, a handful of panko breadcrumbs + any other seasonings you like; mix until blended. Chill in the fridge for at least 30 minutes.
-
Cut a cheese slice or stick into small cubes.
-
Grab a small chunk of meat and press and roll into a ball; then smash down until flattened. With your thumb, make a small indent at the center of the patty.
-
Place a cube of cheese in the indent, then place cubes all around the center, leaving the area at the edge of the patty uncovered. Add another layer of cheese if you want it cheesier.
-
Grab another small chunk of meat and repeat Step #3. Once flattened, place over the top of the patty with the cheese cubes, pressing the edges of the two patties together to seal the cheese all around. Push the two ends together gently to make the patty more ball- or football-shape.
-
Refrigerate for another 10-15 minutes.
Cook and Assemble
-
Heat a pan to Medium High. If cooking with poultry, add a glug of oil or pat of butter to pan.
-
Cook burger for three minutes, pressing/flattening it with a spatula frequently; flip and cook until fully cooked all around, roughly 2 ½ to 3 minutes.
-
Allow 3-5 minutes to cool before serving.
Serve
-
Serve based on how your child is likely to react to melted cheese visible at the center of the burger. Cutting it in half helps cool the center quicker but may repel the cheese phobic; cutting into quarters or smaller pieces will give your child a mix of the usual and novel pieces, which may or may not be a good thing. Definitely provide the usual condiments they usually eat with the burger.
Adapt
-
While we used cheddar and colby jack cheeses in the burger shown in the recipe photos, if you really want some oozy, almost liquid-y cheese to come out the center, use American or even Velveeta cheese, both of which are extremely, well, melty.


User Reviews
Kind of snuck the cheese in there without my son knowing, but he really liked it. Will try again.
Genius! Amazing that someone did this.